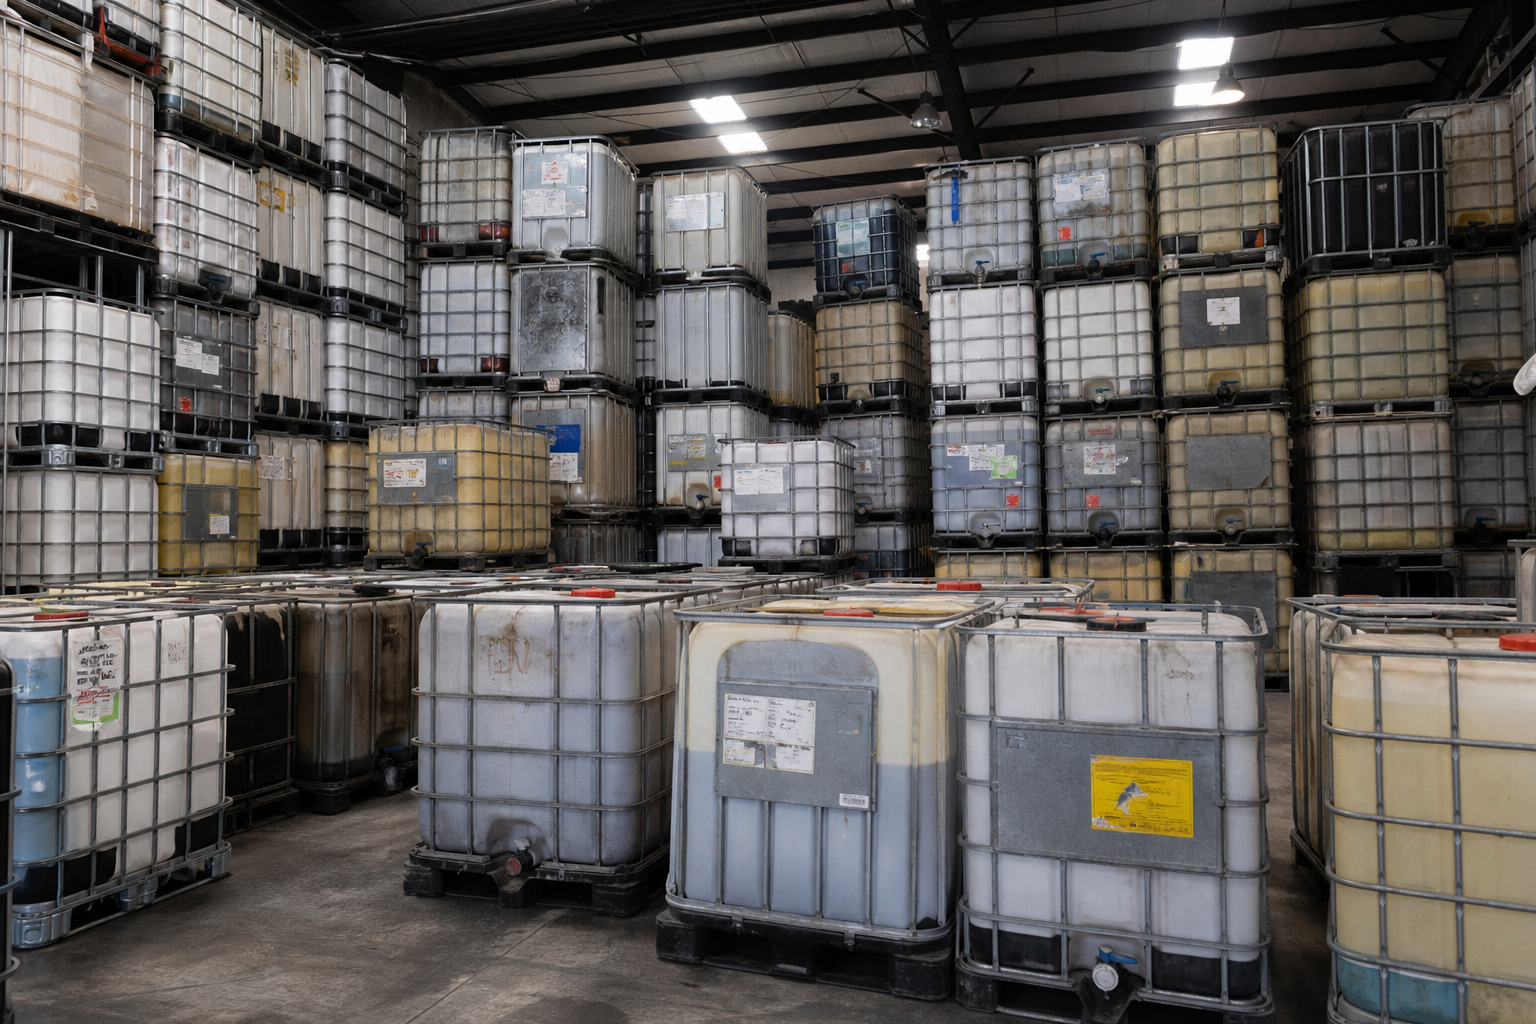
Why an IBC tote is the ideal rain barrel
A single 275 or 330 gallon IBC tote holds five to six times the water of a typical 55 gallon rain barrel, all in a compact 40 by 48 inch footprint. The HDPE bottle is UV-resistant enough to serve outdoors for years, the steel cage supports the enormous weight of a full tank, and the integrated pallet base makes it easy to position with a forklift or pallet jack.
Reusing a tote for water storage is also a textbook example of the circular economy. Instead of manufacturing a purpose-built cistern, you give a container that already exists a long second life. It is cheaper, it is greener, and it works beautifully.
Choosing the right tote grade
Grade selection is the most important decision you will make, so make it first. If you will use the water on vegetables, fruit, or anything you or your animals consume, start with a food-grade tote that previously held a food-safe product and has been properly cleaned. Never use a tote that held pesticides, solvents or industrial chemicals for anything touching edible plants.
For purely ornamental irrigation, a clean general-purpose tote can be acceptable, but knowing the prior contents still matters. When in doubt, ask for the tote's history. A reputable supplier tracks what each container held and how it was reconditioned, which takes the guesswork out of your project.
- Edible gardens: verified food-grade, cleaned bottle only
- Ornamental beds and lawns: clean general-purpose is usually fine
- Never repurpose totes that held pesticides or solvents for plants
- Confirm prior contents and wash status before you buy
- Opaque or shaded totes resist algae far better than clear ones
Siting and supporting the tank
Water is heavy. A full 275 gallon tote weighs well over a ton, so the ground and any stand must carry that load without shifting or sinking. Place the tote on firm, level ground or a sturdy platform. If you want gravity-fed pressure at the outlet, elevate the tote on a strong, well-braced stand, remembering that every foot of height adds a small amount of pressure but multiplies the structural demands.
Position the tote under or near a downspout so the roof runoff has a short, clean path into the tank. Keep the outlet valve accessible so you can attach a hose or drip line without crawling underneath.
Plumbing the inlet and outlet
The inlet is the top opening, where roof water enters. The cleanest approach is a first-flush and filtration setup that keeps leaves, grit and debris out of the tank. Route your downspout into a leaf screen or a diverter, then into the tote's top fill port, leaving the port screened rather than wide open.
The outlet is the tote's built-in valve at the bottom. Most totes use standard NPT threads, so you can screw on a garden hose adapter or a drip-irrigation manifold with common fittings from any hardware store. Add a shutoff so you can control flow, and consider a short length of pipe to raise the effective tap height if you want to fill watering cans easily.
Overflow: the step people skip
Rain does not stop when your tote is full, so an overflow is not optional. Without one, water backs up into your gutters or pours out the top fill port and erodes the ground around your foundation. Install an overflow fitting near the top of the tote and route it with a hose or pipe to a safe discharge point, such as a garden bed, a swale or a storm drain, well away from any building.
Size the overflow generously. During a heavy downpour, water can enter far faster than a small fitting can release it, so a larger overflow protects both the tank and your property.
Mosquito control and water quality
Standing water attracts mosquitoes, and an open tote is an open invitation. Keep every opening sealed or screened with fine mesh so adults cannot enter to lay eggs and new ones cannot escape. Cover the top fill port, screen the overflow, and make sure the lid seals.
Sunlight feeds algae, so keep the water dark. Opaque totes, shade cloth or a shaded location all help. If your water sits for long periods, periodically empty and rinse the tank, and remember that harvested rainwater is best used for irrigation rather than drinking unless it is fully treated.
Linking multiple totes for more storage
One tote is great; a bank of totes is a serious reservoir. To link them, connect the bottom outlets of adjacent totes with hose or pipe so they equalize and share a single tap, or connect their tops so overflow from the first cascades into the next. Many builders combine both: bottoms linked so all tanks fill together, tops linked so overflow chains down the line to a final discharge.
Use the standard valve threads and rigid, well-supported connections, and keep all linked totes on the same level ground so they balance. With three or four totes you can store around a thousand gallons, enough to carry a garden through a dry stretch entirely on captured rain.
Get the right totes for your build
A rainwater system is only as good as the containers it is built from. Starting with the correct grade, a sound cage and a working valve saves you headaches and keeps your harvested water clean.
If you are planning a system, reach out to IBC Tote Solutions through our quote form or at info@ibctotessolutions.com. We can supply verified food-grade or general-purpose totes, matched valves and fittings, and advice on how many containers your setup needs.