Why an IBC Tote Is the Perfect Aquaponics Vessel
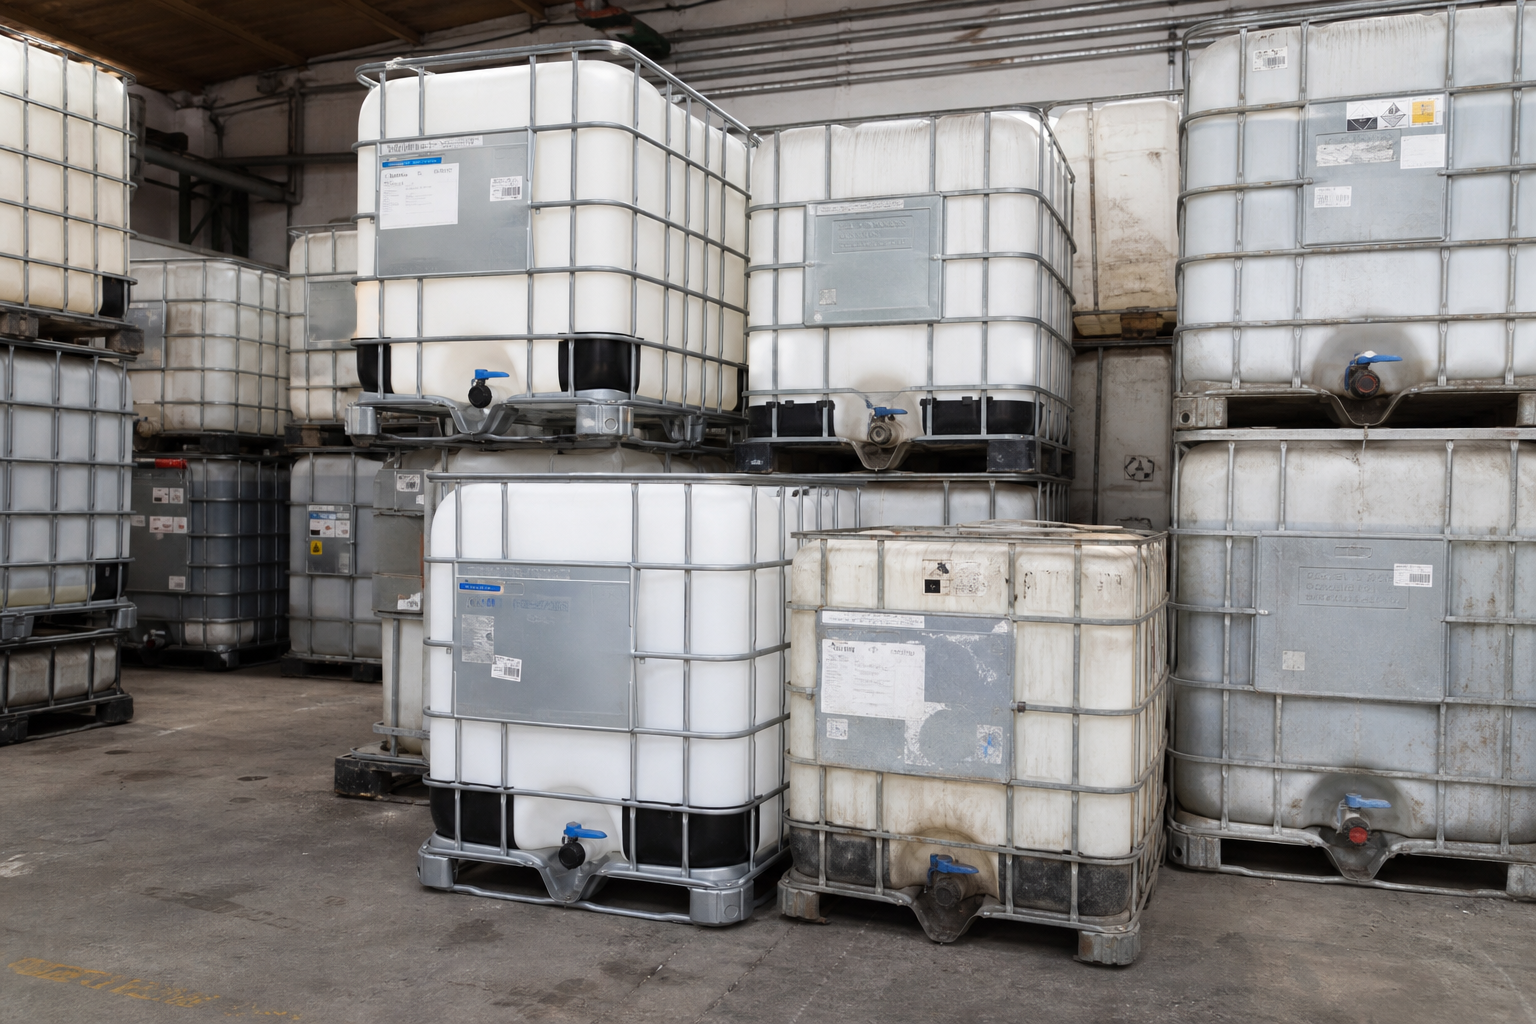
Aquaponics pairs fish with plants in a closed loop: fish waste feeds the plants, and the plants clean the water that returns to the fish. To run that loop you need two watertight vessels of a known volume, and that is exactly what an IBC tote gives you. A standard tote holds 275 or 330 gallons, sits on its own pallet, and is already reinforced by a steel cage, so it can carry hundreds of pounds of water and media without bracing.
Buying purpose-built aquaponics tanks is expensive, and it also runs against the grain of what a sustainable garden is supposed to be. Reusing an industrial container that would otherwise be shredded or landfilled keeps embodied energy in service and costs a fraction of new equipment. That is the same logic we apply at IBC Tote Solutions every day: a reconditioned tote almost always beats a new one on both price and footprint.
Choosing a Food-Grade Tote (Non-Negotiable)
This is the single most important decision in the whole build. The water in an aquaponics system contacts fish you may eat and plants you will definitely eat, so the plastic must never have held anything toxic. Only use a tote whose prior contents were food-safe, and confirm it before you cut anything.
The inner bottle on nearly all totes is high-density polyethylene, which is inert and food-compatible by itself. The risk is not the plastic, it is the residue of what the tote previously carried. Ask for the prior product and, ideally, documentation.
- Look for prior contents like fruit juice, vinegar, food-grade glycerin, liquid sweeteners or edible oils.
- Avoid any tote that held pesticides, solvents, fuels, industrial cleaners or unknown chemicals, even after washing.
- Check for a food-grade or FDA-compliant marking and ask the seller to confirm the last product carried.
- Rinse thoroughly with hot water and a mild food-safe cleaner, then let it off-gas in the sun before adding fish.
Cutting the Tote Into a Tank and a Grow Bed
The classic layout uses one tote to make both parts. Measure down from the top and cut horizontally so the upper section becomes a shallow grow bed and the lower section stays as the deep fish tank. A common split leaves the top third, roughly 12 to 15 inches tall, as the grow bed and the bottom two-thirds as the tank.
Cut through the plastic bottle first with a jigsaw or a reciprocating saw fitted with a fine blade, then cut the matching cage bars with an angle grinder or bolt cutters. Deburr every edge, because ragged HDPE will cut your hands and can abrade tubing. Keep the cage sections you removed; they make excellent trellises for climbing crops.
Set the grow bed on top of the tank so water can drain by gravity from the bed back into the fish below. Reuse the original cage feet or build a simple frame from the cut cage steel to support the loaded grow bed, which can weigh several hundred pounds once filled with media and water.
Choosing and Adding Grow Media
The grow bed is filled with an inert medium that supports plant roots and hosts the beneficial bacteria that convert fish waste into plant nutrients. The medium needs to hold moisture, drain freely and offer huge surface area for that bacterial colony.
Rinse whatever you choose until the runoff is clear, because dust will cloud your water and stress the fish.
- Expanded clay pebbles: lightweight, pH neutral and reusable, though pricier up front.
- Lava rock: cheap and abundant, with enormous surface area, but sharp and heavy.
- Expanded shale or growstone: good drainage and moderate weight.
- Avoid limestone or crushed concrete, which raise pH and throw off the nitrogen cycle.
Plumbing, the Pump and the Bell Siphon
Water is lifted from the fish tank up to the grow bed by a small submersible pump, then it floods the media and drains back down. The elegant trick that makes a media bed work is the bell siphon, a passive device that fills the bed to a set level and then rapidly drains it, so roots get alternating wet and dry cycles without any timers or electronics.
A bell siphon has three nested parts: a standpipe that sets the maximum water height, a bell cap over the standpipe that triggers the siphon, and an outer media guard that keeps clay pebbles out of the mechanism. When water rises to the top of the standpipe it starts a siphon that sucks the bed down fast, then air breaks the siphon and the cycle repeats every few minutes.
Use food-safe HDPE or PVC fittings, and size the pump so it turns over the full tank volume roughly once or twice per hour. Add a bulkhead fitting at the bed drain and seal it well; a leak between the two levels is the most common failure point.
Cycling the System and Adding Fish
Do not add fish on day one. The system needs to cycle first, meaning you grow the bacterial colony that converts toxic ammonia into nitrite and then into plant-friendly nitrate. This usually takes two to six weeks. You can seed it with a small dose of ammonia or a handful of media from an established system and watch the numbers with an aquarium test kit.
Once ammonia and nitrite both read near zero and nitrate is present, the biofilter is alive and ready. Add fish slowly and lightly stock at first. Tilapia are the classic aquaponics fish in warm climates, while goldfish or koi work for an ornamental setup in cooler regions. Feed conservatively and never overstock, because a single tote tank has limited oxygen and buffering capacity.
Maintenance and Getting the Most From a Reused Tote
Once it is running, an IBC aquaponics system is low effort. Check water temperature and pH weekly, top up for evaporation, and clean the bell siphon if it starts short-cycling. Shade the fish tank to keep algae down and to hold temperature steady. In cold climates, plan to bring fish indoors or heat the tank over winter.
The beauty of building with a reused tote is that when a component wears out you simply source another inexpensive tote rather than buying specialized gear. It is cheaper, it keeps sturdy industrial plastic out of the waste stream, and it produces food. That is the reuse-first mindset in miniature.
Sourcing the Right Tote
The build only works if you start with the right container, and food-grade totes with verified prior contents are the part most DIY builders get wrong. If you want a clean, documented food-grade tote for an aquaponics project, we can help you find one that is safe for the job.
Reach out through our quote form or email us at info@ibctotessolutions.com with your location and what you are building, and we will point you to the right tote for a safe, long-lasting system.